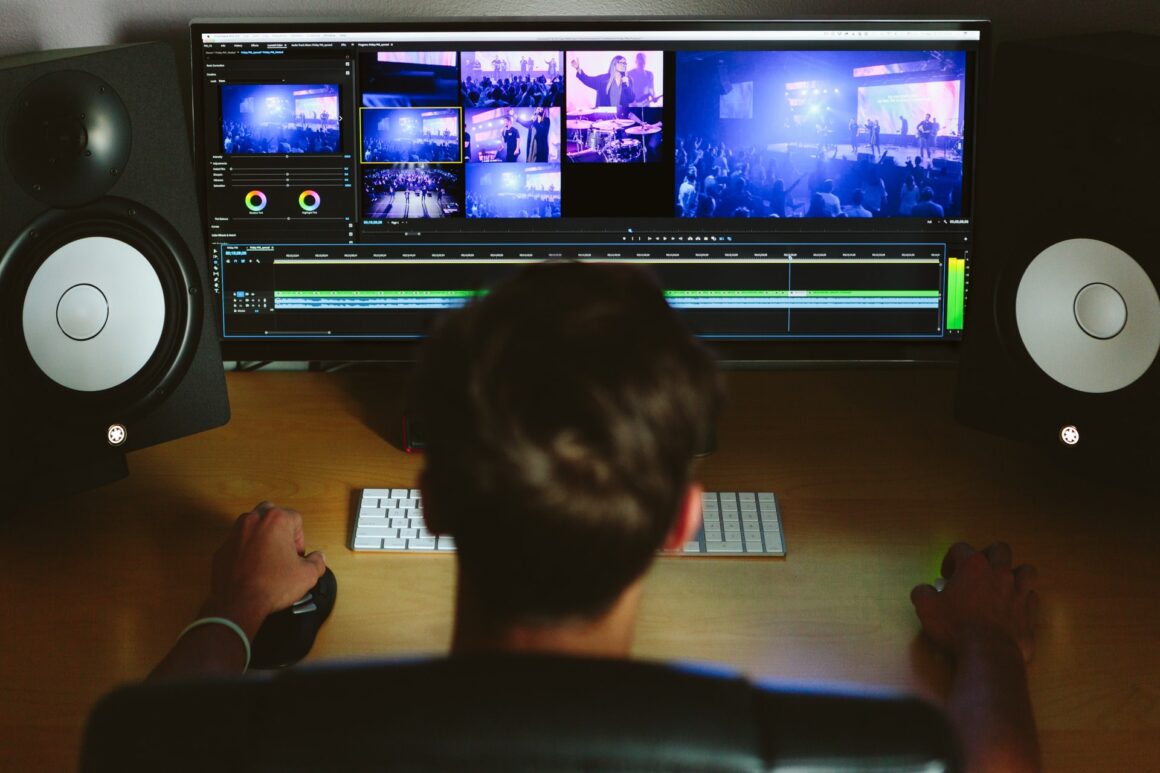
Video editing is the process of combining multiple clips together into one cohesive video. This can be done through cutting and splicing the film or even adding music or graphics in post-production. It all depends on what you are trying to accomplish with your final product. A video clip is only as good as the story behind it. A good video editing software can help tell your story in a more captivating way.
But getting started with editing can be tricky, especially for a beginner. That’s why we came up with this guide to help you get started on the right foot. Follow our steps and learn how to edit videos for beginners in some easy steps!
1. Before Anything Else, Watch Some Tutorials

Before you start editing anything, take some time to watch tutorials on video editing. A good video editor can make a huge difference in the quality of the final product. You want to learn how video transitions work and how to incorporate music into your film. These basic skills will help you as you learn more advanced techniques.
2. Choose Your Editing Software
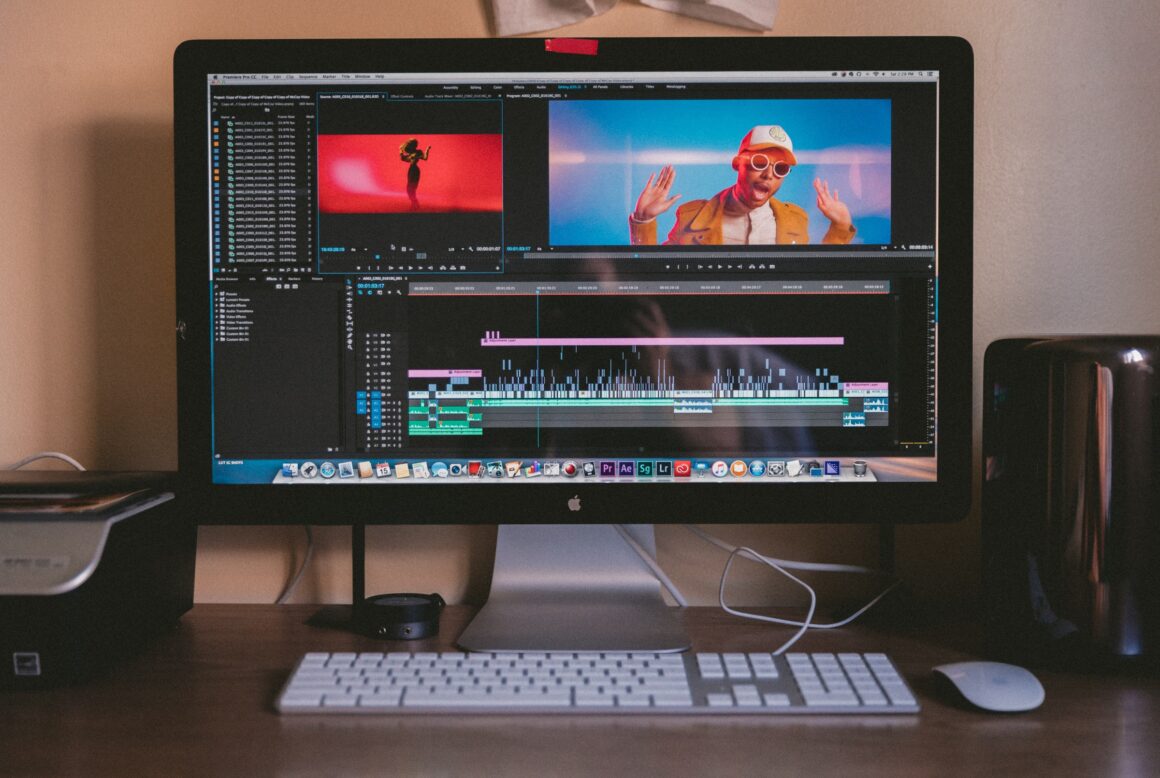
Good editing software should be easy to use and have many different effects, transitions, and filters for your personal taste. Use high-quality video editing software that comes with many kinds of effects such as transitions, titles, and colour correction effects. You can also use the free trial version to see if it meets your needs.
3. Plan Your Project

Decide what kind of video you are going to make and how long it should be. After you have decided on the type of video editing software you want to use, set aside about two hours for your project. This will give you enough time to watch your project again and fix any mistakes that may occur during the editing process.
4. Outline Your Video Content
After you have chosen a video editing software, it is time to create “outlines” of your video. Developing an outline can help you think of ways to connect the different clips together and get a feel for what your final project will look like. These outlines are also a great way to help your video editing software recognize the different clips in your project. Start by creating a skeleton for your video in the software, then fill it in with clips and effects that you think will work best.
5. Cut Away (Cutting & Splicing)

The next step of editing involves cutting and splicing together the different clips to create one coherent story or message. To cut away footage, you can use the “cut” command within your editing software. This will literally just remove a chunk of footage from your film or create a new clip out of thin air when you add the new footage into your film. You can also cut out parts of your background or objects that are not in focus by activating the “crop” function.
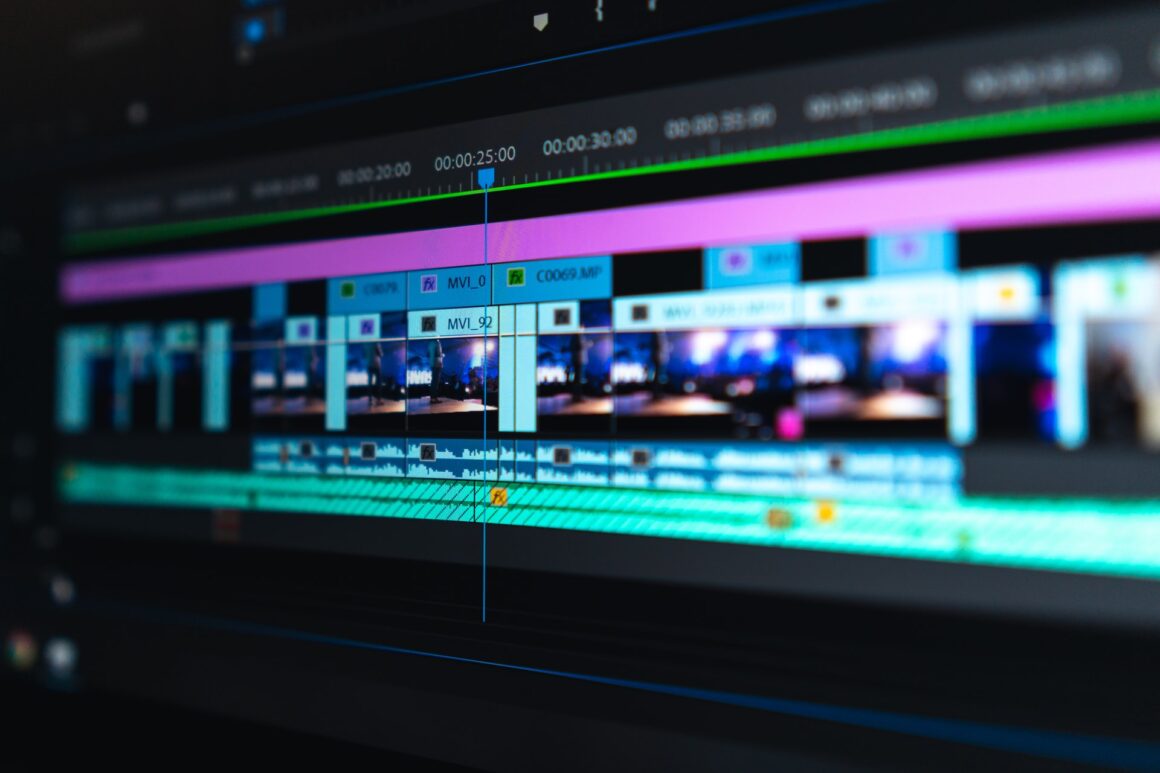
To splice or “glue” together two clips, you can use the “paste” command within your editing software. This is going to make a copy of one clip and insert it into another clip. You can then position this new clip where you want it on your timeline by dragging it around.
6. Add Transition Effects
Once you have mastered cutting video, it is time to learn how to make it look more interesting visually by applying some transition effects. By using these advanced effects, you can really make your video stand out from others and draw attention to certain parts of your film. It is one of the best tools you have at your disposal. Using transitions in video editing software helps you to create more fluid and polished videos. The transition can make the transition from one clip to another more interesting. You can choose from many different types of transitions like a fade to black, a cross-fade, or a specific shape like an iris-out or vignette. There are many different types of transition effects that you can use to enhance your videos. You can also choose how long you want this transition to last using the slider bar in your editing software.
7. Colour Correct Your Video

It is important to learn how to colour correct your video if you are going to be making a lot of videos. Colour correction can make your film look better, but can also make the footage that you’ve shot look unnatural. It’s best to colour correct your video so that you don’t have to do it after every take or ever at all in the first place. If a scene looks strange or needs fixing, it is better to fix it during the editing process instead of after filming. You should also get rid of any unwanted colour in your background or person who appears in clips so that they don’t distract viewers from the storyline and focus on them instead of on what is really important in the video.
8. Add Music & Sound Effects
Music can add an extra dimension to any movie or video clip—it provides mood and emotion that a picture alone cannot convey. It can really help to make your video stand out from the rest. Adding music during the editing process is relatively easy and it only takes a few clicks to add songs of your choice to your video. That is why it is important for every beginning movie editor to choose music that fits the scene or background that they are trying to create. You can find free music downloads online for all kinds of different genres, styles, and moods—from mellow classical ballads to energetic techno tracks.
Video editing is a very useful skill for anyone interested in creating their own videos for different purposes—from business presentations to personal wedding videos. With the help of the tips outlined above, you will be well on your way to becoming a master of video editing! Good luck!


